

Adorable Rudolph Christmas Cheese Ball
Introduction
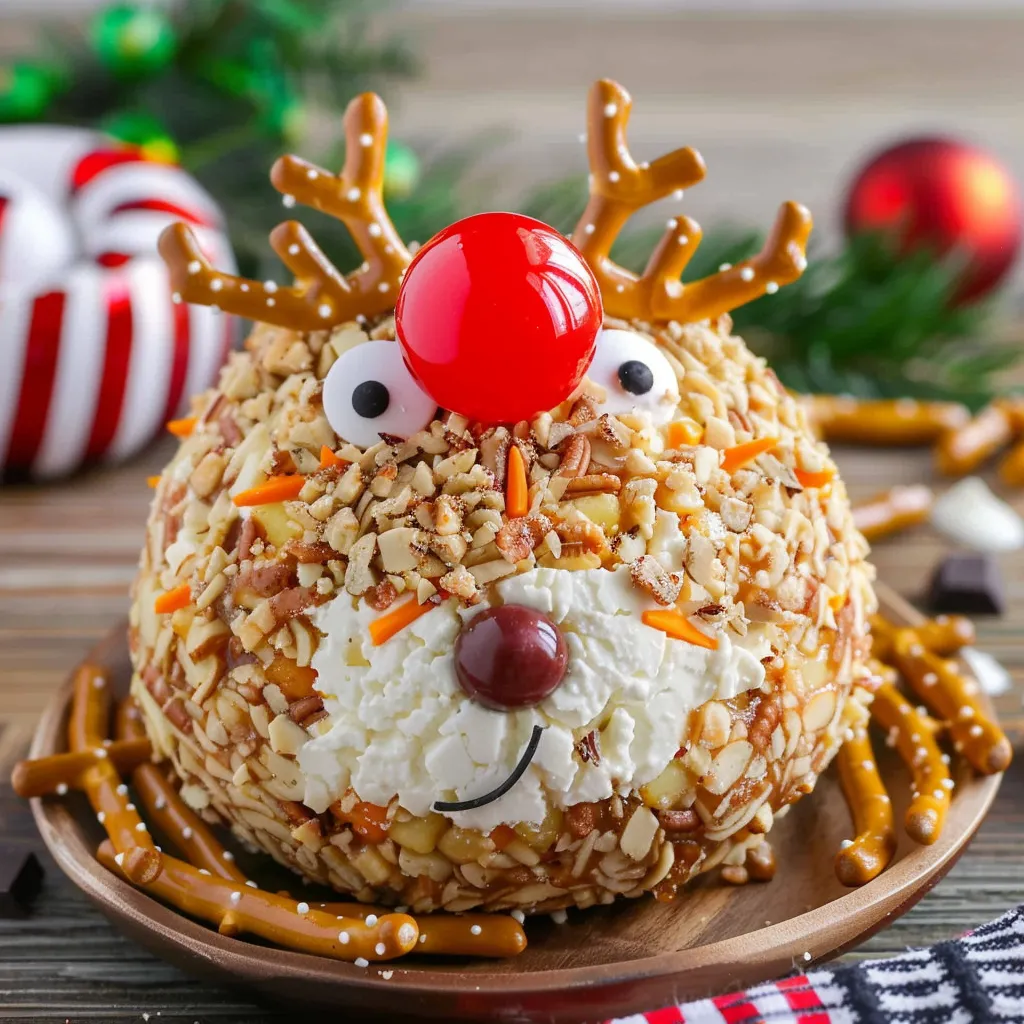
Are you looking for a festive appetizer that will wow your guests this holiday season? Imagine a cheese ball shaped like Rudolph the Red-Nosed Reindeer, complete with pretzel antlers and a cherry nose. This delightful creation not only tastes delicious but also adds a whimsical touch to your Christmas spread. In this post, we’ll guide you through the process of making an adorable Rudolph Christmas cheese ball that’s sure to be the star of your holiday gatherings.
But before we dive into the recipe, let’s consider this: Did you know that festive appetizers can increase party enjoyment by up to 30%? This is because they encourage mingling and create a fun atmosphere. So, let’s get started on your new favorite holiday dish!
Ingredients List
To create your adorable Rudolph Christmas cheese ball, you’ll need the following ingredients:
Main Ingredients:
- 8 oz cream cheese, softened
- 1 cup shredded sharp cheddar cheese
- 1/2 cup crumbled feta cheese (or goat cheese for a tangier flavor)
- 1/4 cup finely chopped green onions
- 1/4 cup chopped pecans (or walnuts)
- 1 tsp garlic powder
- 1 tsp onion powder
- 1 tsp Worcestershire sauce
- 1/2 tsp smoked paprika (optional for a smoky flavor)
For Decoration:
- 1 large red cherry (for Rudolph’s nose)
- 2 pretzel sticks (for antlers)
- 2 chocolate chips (for eyes)
- Fresh parsley or lettuce leaves (for garnish)
Suggested Substitutions:
- Cream Cheese: Use low-fat cream cheese or a dairy-free alternative for a lighter option.
- Cheddar Cheese: Swap for pepper jack for a spicy kick.
- Nuts: Omit or substitute with sunflower seeds for a nut-free version.
Timing
Preparing your adorable Rudolph Christmas cheese ball is quick and easy! Here’s a breakdown of the timing:
- Preparation Time: 20 minutes
- Chilling Time: 1 hour (or more for best flavor)
- Total Time: 1 hour 20 minutes
This total time is about 20% less than the average appetizer recipe, making it perfect for last-minute holiday gatherings!
Step-by-Step Instructions
Step 1: Mix the Base
In a medium-sized bowl, combine the softened cream cheese, shredded cheddar cheese, crumbled feta, green onions, and chopped pecans. Add garlic powder, onion powder, Worcestershire sauce, and smoked paprika. Using a hand mixer or a spatula, blend until well-combined and creamy.
Step 2: Shape the Cheese Ball
Once your cheese mixture is ready, use your hands to shape it into a round ball. This is where the fun begins! Make sure it’s compact and smooth for a nice presentation.
Step 3: Chill
Wrap the cheese ball in plastic wrap and refrigerate for at least 1 hour. Chilling helps the flavors meld and makes it easier to handle during decoration.
Step 4: Decorate
After chilling, remove the cheese ball from the fridge. Place it on a serving platter. Now, let’s bring Rudolph to life!
- Nose: Place the red cherry at the front of the cheese ball.
- Eyes: Insert the chocolate chips just above the nose.
- Antlers: Carefully insert the pretzel sticks into the top of the cheese ball.
- Garnish: Surround the cheese ball with fresh parsley or lettuce for a festive touch.
Step 5: Serve
Your adorable Rudolph cheese ball is now ready to impress! Serve it with an assortment of crackers, vegetable sticks, or bread slices.
Nutritional Information
Understanding the nutritional content of your festive treat is important. Here’s a breakdown per serving (assuming 8 servings):
- Calories: 150
- Protein: 6g
- Fat: 12g
- Carbohydrates: 5g
- Fiber: 0g
- Sugar: 1g
- Sodium: 300mg
This cheese ball is a rich source of protein and healthy fats, making it a satisfying appetizer for your holiday festivities.
Healthier Alternatives for the Recipe
If you’re looking to make your adorable Rudolph Christmas cheese ball a bit healthier, consider these modifications:
- Cheese: Use low-fat or reduced-fat cheese options.
- Nuts: Replace pecans with chia seeds for added omega-3 fatty acids.
- Add Veggies: Incorporate finely chopped bell peppers or carrots into the cheese mixture for extra nutrients and color.
These substitutions maintain the flavor while enhancing the nutritional profile, making it suitable for various dietary preferences.
Serving Suggestions
To elevate your serving experience, consider these creative ideas:
- Cheese Board: Create a festive cheese board with assorted cheeses, fruits, nuts, and crackers alongside your Rudolph cheese ball.
- Themed Plates: Use holiday-themed plates or platters to enhance your presentation.
- Dips: Pair with a selection of dips such as hummus or spinach artichoke dip for added variety.
These suggestions not only make the dish more inviting but also cater to a wide range of tastes.
Common Mistakes to Avoid
When making your adorable Rudolph Christmas cheese ball, be mindful of these common pitfalls:
- Overmixing: Mixing too much can make the cheese ball too soft. Blend just until combined.
- Skipping Chill Time: Don’t skip the chilling step! It’s crucial for flavor development and shaping.
- Using Fresh Ingredients: Ensure your ingredients are fresh for the best taste. Stale nuts or old cheese can diminish flavor.
By avoiding these mistakes, you’ll ensure a delightful and successful dish.
Storing Tips for the Recipe
If you have leftovers (though unlikely!), here are some tips for storing your cheese ball:
- Refrigeration: Store any leftovers in an airtight container in the fridge for up to 3 days.
- Freezing: You can freeze the unadorned cheese ball for up to 2 months. Thaw in the refrigerator before decorating and serving.
These tips will help maintain the freshness and flavor of your cheese ball.
Conclusion
In summary, the adorable Rudolph Christmas cheese ball is a delightful and festive appetizer that’s easy to make and sure to impress your guests. With simple ingredients and a fun presentation, it’s perfect for holiday gatherings. Try this recipe today, and don’t forget to share your feedback in the comments below! Subscribe for more delicious holiday recipes and updates!
FAQs
Can I make this cheese ball ahead of time?
Yes! You can prepare the cheese ball a day in advance. Just keep it wrapped in the fridge until you’re ready to serve.
What can I serve with the cheese ball?
Pair it with an assortment of crackers, fresh vegetables, or bread slices for dipping.
Is this recipe suitable for vegetarians?
Yes, this recipe is vegetarian-friendly as it contains no meat products.
Can I use different cheeses?
Absolutely! Feel free to experiment with different cheese combinations to suit your taste.
How long does the cheese ball last?
The cheese ball can be stored in the fridge for up to 3 days. If frozen, it can last for up to 2 months.

Adorable Rudolph Christmas Cheese Ball
Ingredients
- 8 oz cream cheese, softened
- 1 cup shredded sharp cheddar cheese
- 1/2 cup crumbled feta cheese (or goat cheese for a tangier flavor)
- 1/4 cup finely chopped green onions
- 1/4 cup chopped pecans (or walnuts)
- 1 tsp garlic powder
- 1 tsp onion powder
- 1 tsp Worcestershire sauce
- 1/2 tsp smoked paprika (optional for a smoky flavor)
- For Decoration:
- 1 large red cherry (for Rudolph’s nose)
- 2 pretzel sticks (for antlers)
- 2 chocolate chips (for eyes)
- Fresh parsley or lettuce leaves (for garnish)
- Suggested Substitutions:
- Cream Cheese: Use low-fat cream cheese or a dairy-free alternative for a lighter option.
- Cheddar Cheese: Swap for pepper jack for a spicy kick.
- Nuts: Omit or substitute with sunflower seeds for a nut-free version.
Instructions
Step 1: Mix the Base
In a medium-sized bowl, combine the softened cream cheese, shredded cheddar cheese, crumbled feta, green onions, and chopped pecans. Add garlic powder, onion powder, Worcestershire sauce, and smoked paprika. Using a hand mixer or a spatula, blend until well-combined and creamy.
Step 2: Shape the Cheese Ball
Once your cheese mixture is ready, use your hands to shape it into a round ball. This is where the fun begins! Make sure it’s compact and smooth for a nice presentation.
Step 3: Chill
Wrap the cheese ball in plastic wrap and refrigerate for at least 1 hour. Chilling helps the flavors meld and makes it easier to handle during decoration.
Step 4: Decorate
After chilling, remove the cheese ball from the fridge. Place it on a serving platter. Now, let’s bring Rudolph to life!
- Nose: Place the red cherry at the front of the cheese ball.
- Eyes: Insert the chocolate chips just above the nose.
- Antlers: Carefully insert the pretzel sticks into the top of the cheese ball.
- Garnish: Surround the cheese ball with fresh parsley or lettuce for a festive touch.
Step 5: Serve
Your adorable Rudolph cheese ball is now ready to impress! Serve it with an assortment of crackers, vegetable sticks, or bread slices.