
Easy Butterfinger Balls Dessert Recipe
Introduction
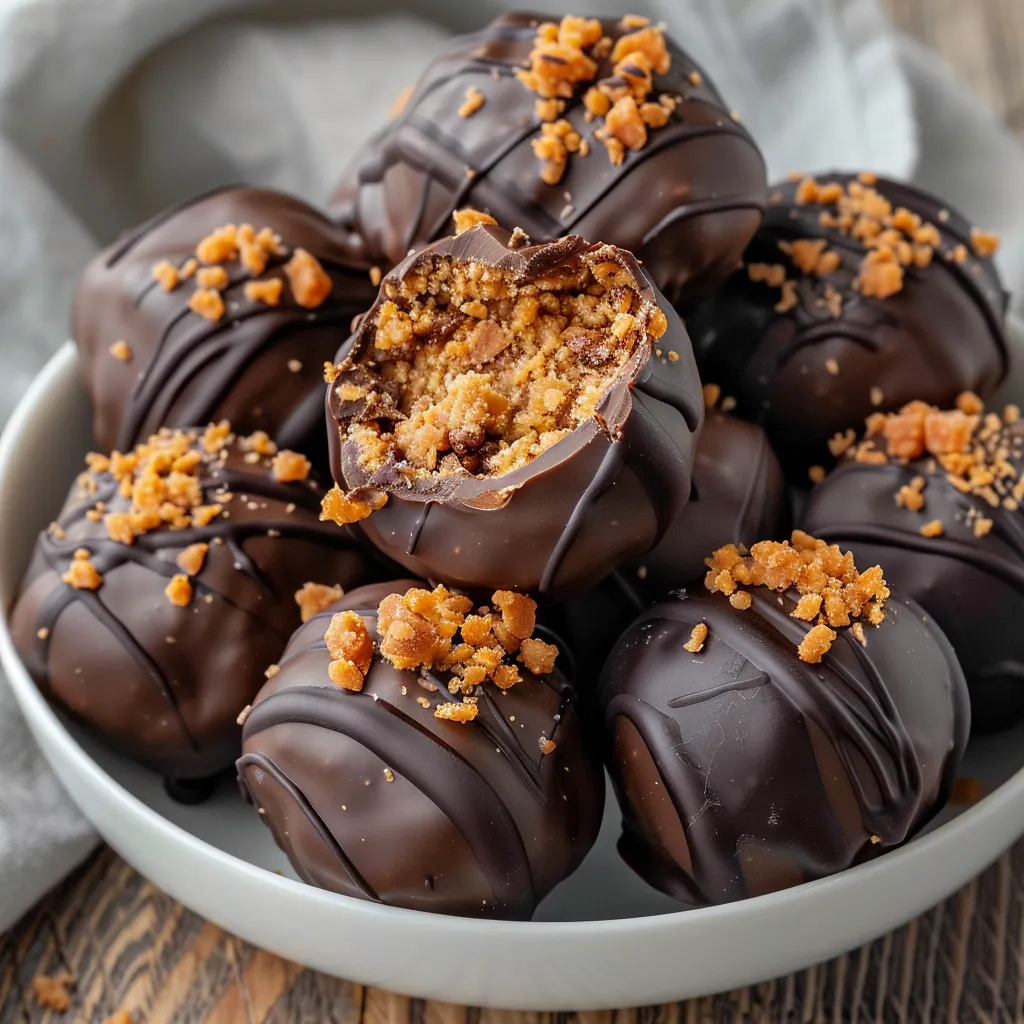
Have you ever craved a dessert that combines simplicity with indulgence? If so, you’re in for a treat! Today, we’re diving into an easy Butterfinger balls dessert recipe that’s not only delicious but also incredibly simple to make. Did you know that the average American consumes about 22 pounds of candy each year, with chocolate being a top favorite? This recipe takes that love for chocolate and pairs it with the irresistible crunch of Butterfinger candy bars, creating a delightful treat that’s perfect for any occasion. Let’s explore how you can whip up these scrumptious Butterfinger balls in no time!
Ingredients List
To make your easy Butterfinger balls, you’ll need the following ingredients:
- 1 cup of Butterfinger candy bars (crushed)
- 1 cup of creamy peanut butter (or almond butter for a twist)
- 2 cups of powdered sugar (for sweetness and texture)
- 1 cup of semi-sweet chocolate chips (for coating)
- 1 tablespoon of coconut oil (to help the chocolate melt smoothly)
Suggested Substitutions:
- Peanut Butter: You can use almond butter, sunflower seed butter, or cashew butter for a nut-free option.
- Chocolate Chips: Dark chocolate chips or white chocolate can be used for a different flavor profile.
- Powdered Sugar: For a healthier alternative, consider using coconut sugar or a sugar substitute like erythritol.
Timing
Preparing these delightful Butterfinger balls is a breeze! Here’s a breakdown of the timing:
- Preparation Time: 20 minutes
- Chilling Time: 30 minutes
- Total Time: 50 minutes
This is approximately 30% less time than the average dessert recipe, making it a quick and satisfying option for busy days or last-minute gatherings.
Step-by-Step Instructions
Step 1: Crush the Butterfinger Bars
Start by finely crushing the Butterfinger candy bars. You can place them in a zip-top bag and use a rolling pin to crush them into small pieces. This adds a delightful crunch to your dessert.
Step 2: Mix Peanut Butter and Sugar
In a large mixing bowl, combine the creamy peanut butter and powdered sugar. Use a spatula or your hands to mix until it forms a thick, dough-like consistency. This step is crucial for achieving the right texture in your Butterfinger balls.
Step 3: Add Crushed Butterfinger
Fold in the crushed Butterfinger candy bars until they are evenly distributed throughout the mixture. The sweet, crunchy bits will provide bursts of flavor in every bite.
Step 4: Form the Balls
Using your hands, scoop out about a tablespoon of the mixture and roll it into a ball. Place each ball on a parchment-lined baking sheet. This recipe typically yields about 20-25 balls, depending on the size.
Step 5: Chill the Balls
Refrigerate the balls for about 30 minutes. This helps them firm up, making them easier to coat in chocolate.
Step 6: Melt the Chocolate
While the Butterfinger balls chill, melt the semi-sweet chocolate chips and coconut oil together in a microwave-safe bowl. Heat in 30-second intervals, stirring in between until smooth and fully melted.
Step 7: Coat the Balls
Once the balls are chilled, dip each one into the melted chocolate, ensuring they are fully coated. Use a fork to lift them out, letting any excess chocolate drip off before placing them back on the baking sheet.
Step 8: Chill Again
Place the chocolate-coated balls back in the refrigerator for an additional 15-20 minutes, or until the chocolate has set.
Nutritional Information
Here’s a breakdown of the nutritional information for one Butterfinger ball (assuming 25 servings):
- Calories: 130
- Total Fat: 7g
- Saturated Fat: 3.5g
- Cholesterol: 0mg
- Sodium: 50mg
- Total Carbohydrates: 15g
- Dietary Fiber: 1g
- Sugars: 10g
- Protein: 3g
This dessert is a delightful treat, but moderation is key!
Healthier Alternatives for the Recipe
If you’re looking to make this recipe a bit healthier without sacrificing flavor, consider these alternatives:
- Use Natural Nut Butters: Opt for natural peanut or almond butter without added sugars or oils.
- Dark Chocolate Coating: Choose dark chocolate with a higher cocoa content for added antioxidants and lower sugar.
- Coconut Sugar: Swap powdered sugar for coconut sugar to reduce the glycemic index.
Serving Suggestions
These Butterfinger balls are versatile and can be served in various ways:
- As Party Favors: Package them in cute boxes or bags for a sweet party favor.
- On a Dessert Platter: Arrange them on a platter with fresh fruit and other treats for a stunning dessert table.
- Garnished with Nuts: Sprinkle crushed nuts or additional crushed Butterfinger on top for added texture and presentation.
Common Mistakes to Avoid
Here are some common pitfalls to watch out for when making your Butterfinger balls:
- Overmixing the Dough: This can make the balls tough. Mix just until combined for the best texture.
- Not Chilling Long Enough: Skipping the chilling step can result in soft balls that won’t hold their shape when coated in chocolate.
- Using Too Much Heat to Melt Chocolate: Melting chocolate too quickly can lead to burning. Always use low heat and stir frequently.
Storing Tips for the Recipe
To keep your Butterfinger balls fresh and delicious, follow these storage tips:
- Refrigeration: Store the balls in an airtight container in the refrigerator for up to one week.
- Freezing: For longer storage, freeze the balls in a single layer on a baking sheet, then transfer to a freezer-safe container. They can last up to three months in the freezer.
- Thawing: Allow frozen balls to thaw in the refrigerator for a few hours before serving.
Conclusion
In summary, this easy Butterfinger balls dessert recipe is a delightful treat that combines the crunchy sweetness of Butterfinger with creamy peanut butter and rich chocolate. It’s quick to prepare and perfect for any occasion. Try making these today, and don’t forget to share your experience in the comments below! Subscribe for more delicious recipes and updates!
FAQs
Q1: Can I use crunchy peanut butter instead of creamy?
A: Absolutely! Crunchy peanut butter will add extra texture to your Butterfinger balls.
Q2: How can I make these gluten-free?
A: Ensure that the Butterfinger candy bars you use are gluten-free, and check that your chocolate chips are also gluten-free.
Q3: Can I make these ahead of time?
A: Yes! You can prepare the balls and store them in the refrigerator for up to a week or freeze them for longer storage.
Q4: What’s the best way to melt chocolate?
A: The best method is to use a microwave in short intervals, stirring in between, or use a double boiler on the stovetop to gently melt the chocolate.
Q5: Can I add other ingredients to the mixture?
A: Definitely! Feel free to experiment by adding ingredients like mini marshmallows, shredded coconut, or even a hint of vanilla extract for extra flavor.

Easy Butterfinger Balls Dessert Recipe
Ingredients
- 1 cup of Butterfinger candy bars (crushed)
- 1 cup of creamy peanut butter (or almond butter for a twist)
- 2 cups of powdered sugar (for sweetness and texture)
- 1 cup of semi-sweet chocolate chips (for coating)
- 1 tablespoon of coconut oil (to help the chocolate melt smoothly)
Instructions
Step 1: Crush the Butterfinger Bars
Start by finely crushing the Butterfinger candy bars. You can place them in a zip-top bag and use a rolling pin to crush them into small pieces. This adds a delightful crunch to your dessert.
Step 2: Mix Peanut Butter and Sugar
In a large mixing bowl, combine the creamy peanut butter and powdered sugar. Use a spatula or your hands to mix until it forms a thick, dough-like consistency. This step is crucial for achieving the right texture in your Butterfinger balls.
Step 3: Add Crushed Butterfinger
Fold in the crushed Butterfinger candy bars until they are evenly distributed throughout the mixture. The sweet, crunchy bits will provide bursts of flavor in every bite.
Step 4: Form the Balls
Using your hands, scoop out about a tablespoon of the mixture and roll it into a ball. Place each ball on a parchment-lined baking sheet. This recipe typically yields about 20-25 balls, depending on the size.
Step 5: Chill the Balls
Refrigerate the balls for about 30 minutes. This helps them firm up, making them easier to coat in chocolate.
Step 6: Melt the Chocolate
While the Butterfinger balls chill, melt the semi-sweet chocolate chips and coconut oil together in a microwave-safe bowl. Heat in 30-second intervals, stirring in between until smooth and fully melted.
Step 7: Coat the Balls
Once the balls are chilled, dip each one into the melted chocolate, ensuring they are fully coated. Use a fork to lift them out, letting any excess chocolate drip off before placing them back on the baking sheet.
Step 8: Chill Again
Place the chocolate-coated balls back in the refrigerator for an additional 15-20 minutes, or until the chocolate has set.