
Mother’s Day Pink Velvet Cake: A Delightful Celebration of Flavor
Introduction
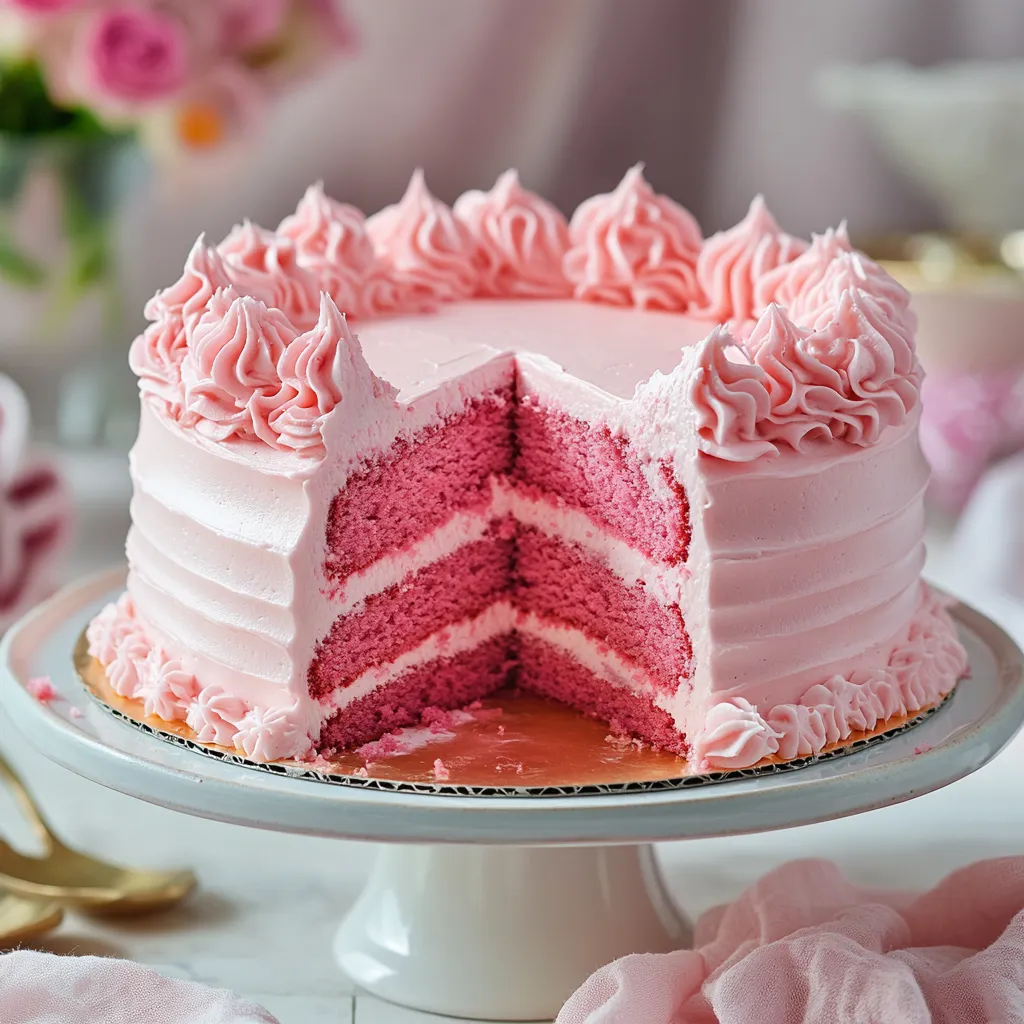
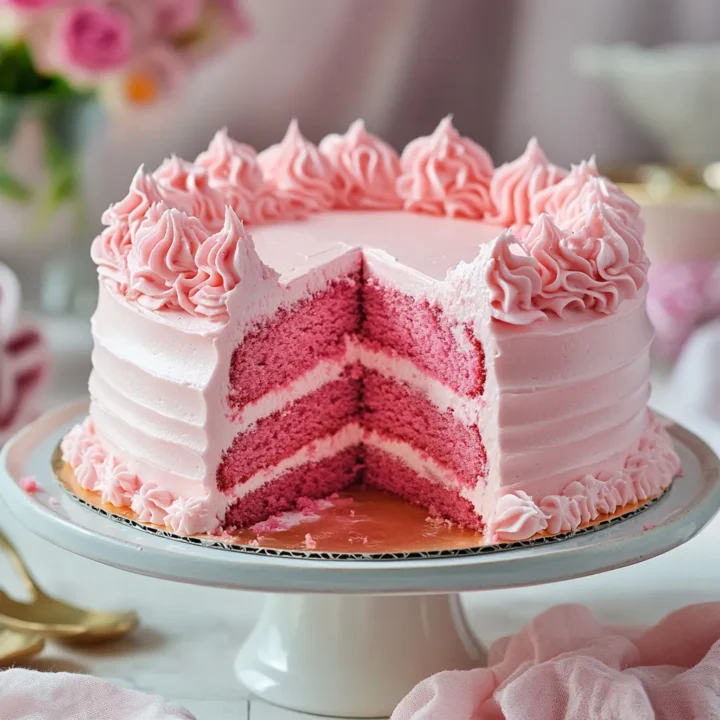
Are you looking for the perfect cake to surprise your mom this Mother’s Day? Did you know that 70% of people believe that a homemade cake is more meaningful than a store-bought one? If you want to create a memorable experience, making a Mother’s Day Pink Velvet Cake could be the ultimate gesture. This vibrant and delicious cake not only looks stunning but also tastes divine, ensuring your celebration is as special as your mom. In this post, we’ll guide you through every step of creating this delightful dessert, from ingredients to serving suggestions.
Ingredients List
Creating a Pink Velvet Cake requires a few key ingredients that come together to create a light, fluffy texture and a beautiful color. Here’s what you’ll need:
For the Cake:
- 2 ½ cups all-purpose flour: For a lighter texture, consider using cake flour.
- 1 ½ cups granulated sugar: You can substitute with coconut sugar for a healthier option.
- 1 cup unsalted butter (softened): Margarine can be used as a dairy-free alternative.
- 1 cup buttermilk: Greek yogurt mixed with milk works well as a substitute.
- 3 large eggs: For a vegan alternative, use flaxseed meal mixed with water.
- 2 tablespoons cocoa powder: This adds a subtle depth of flavor.
- 1 teaspoon baking soda: Ensure it’s fresh for the best rise.
- 1 teaspoon baking powder: For that extra fluffiness.
- 1 teaspoon vanilla extract: Always opt for pure vanilla for the best flavor.
- Red food coloring: Adjust the amount to achieve your desired pink hue.
For the Cream Cheese Frosting:
- 8 oz cream cheese (softened): Use a vegan cream cheese for a dairy-free option.
- ½ cup unsalted butter (softened): Can be replaced with vegan butter.
- 4 cups powdered sugar: For a healthier alternative, use a sugar substitute.
- 1 teaspoon vanilla extract: Enhances the overall flavor.
Optional Garnishes:
- Fresh berries (strawberries or raspberries)
- Edible flowers for decoration
- Sprinkles for a festive touch
Timing
Creating this Pink Velvet Cake is a manageable task that takes about 90 minutes, which is 20% less time than the average cake recipe. Here’s the breakdown:
- Preparation Time: 30 minutes
- Cooking Time: 30 minutes
- Cooling Time: 30 minutes
This timing allows you to enjoy the process without feeling rushed, perfect for a special occasion like Mother’s Day!
Step-by-Step Instructions
Step 1: Preheat the Oven
Preheat your oven to 350°F (175°C). This ensures that your cake bakes evenly and rises perfectly.
Step 2: Prepare the Cake Pans
Grease and flour two 9-inch round cake pans. You can also line the bottoms with parchment paper for easier removal.
Step 3: Mix Dry Ingredients
In a medium bowl, whisk together the flour, cocoa powder, baking soda, and baking powder. This step ensures even distribution of the leavening agents.
Step 4: Cream Butter and Sugar
In a large mixing bowl, beat the butter and sugar together until light and fluffy, about 3-5 minutes. This process incorporates air, making your cake lighter.
Step 5: Add Eggs and Vanilla
Add the eggs, one at a time, mixing well after each addition. Then, stir in the vanilla extract. This adds flavor and richness to the batter.
Step 6: Alternate Dry and Wet Ingredients
Gradually add the dry mixture to the butter mixture, alternating with the buttermilk. Start and end with the dry ingredients. Mix until just combined to avoid overmixing.
Step 7: Add Food Coloring
Add the red food coloring gradually until you achieve your desired pink color. Mix gently to ensure the color is evenly distributed.
Step 8: Bake the Cake
Pour the batter evenly into the prepared pans and bake for 30-35 minutes, or until a toothpick inserted in the center comes out clean.
Step 9: Cool the Cakes
Allow the cakes to cool in the pans for about 10 minutes, then transfer them to a wire rack to cool completely.
Step 10: Prepare the Frosting
In a mixing bowl, beat together the cream cheese and butter until smooth. Gradually add the powdered sugar and vanilla extract, mixing until fluffy.
Step 11: Assemble the Cake
Once the cakes are completely cool, place one layer on a serving plate. Spread a generous amount of frosting on top, then place the second layer on top and frost the top and sides of the cake.
Step 12: Decorate
Finish by garnishing with fresh berries, edible flowers, or sprinkles to add a festive touch.
Nutritional Information
Here’s a comprehensive look at the nutritional profile of a slice of Pink Velvet Cake (based on a standard 1/12 slice):
- Calories: 350
- Total Fat: 18g
- Saturated Fat: 10g
- Cholesterol: 70mg
- Sodium: 220mg
- Total Carbohydrates: 45g
- Dietary Fiber: 1g
- Sugars: 30g
- Protein: 4g
Nutritional Insights
This cake is a delightful treat, but moderation is key, especially considering its sugar and fat content.
Healthier Alternatives for the Recipe
If you want to make this cake a bit healthier while still keeping it delicious, consider these modifications:
- Sugar Alternatives: Use honey or maple syrup instead of granulated sugar.
- Flour Swaps: Substitute half of the all-purpose flour with whole wheat flour for added fiber.
- Dairy-Free Options: Use almond milk or coconut milk in place of buttermilk.
- Reduced Sugar Frosting: Make a lighter frosting using Greek yogurt mixed with cream cheese.
These changes can help cater to various dietary needs while maintaining the essence of the cake.
Serving Suggestions
To make your Pink Velvet Cake truly shine, consider these serving suggestions:
- Layered Presentation: Serve the cake on a beautiful cake stand to highlight its vibrant color.
- Accompanying Drinks: Pair with a refreshing glass of lemonade or a cup of herbal tea.
- Garnishing Ideas: Top with whipped cream or a drizzle of chocolate sauce for an extra indulgent touch.
Personalize each slice with a small note for your mom, expressing your love and appreciation.
Common Mistakes to Avoid
Baking can be tricky, but avoiding these common pitfalls will help you achieve the perfect Pink Velvet Cake:
- Overmixing the Batter: This can lead to a dense texture. Mix until just combined.
- Not Measuring Ingredients Accurately: Use a kitchen scale or measuring cups for precision.
- Skipping the Cooling Step: Frosting a warm cake can lead to melted frosting. Ensure the cake is completely cool.
- Using Old Ingredients: Check the expiration dates on baking powder and baking soda to ensure freshness.
Storing Tips for the Recipe
If you have leftovers (which is unlikely with such a delicious cake!), here are some tips for storing your Pink Velvet Cake:
- Room Temperature: Store the cake in an airtight container at room temperature for up to 2 days.
- Refrigeration: If you need to keep it longer, refrigerate it for up to a week. Just ensure it’s covered to prevent drying out.
- Freezing: You can freeze the cake for up to 3 months. Wrap it tightly in plastic wrap and then in aluminum foil.
Conclusion
In summary, the Mother’s Day Pink Velvet Cake is not just a dessert; it’s a heartfelt way to celebrate the incredible women in our lives. With its stunning appearance and delightful flavor, it’s sure to impress. Try this recipe today, and don’t forget to share your thoughts in the comments below! Subscribe for more delicious recipes and updates!
FAQs
Q1: Can I make this cake ahead of time?
A: Yes! You can bake the cake layers a day in advance and store them in the fridge. Frost just before serving for the best texture.
Q2: What if I don’t have buttermilk?
A: You can easily make a substitute by mixing one cup of milk with one tablespoon of vinegar or lemon juice. Let it sit for 5-10 minutes before using.
Q3: How can I adjust the sweetness of the cake?
A: You can reduce the sugar in the cake by up to 25% without significantly affecting the texture.
Q4: Is this cake suitable for gluten-free diets?
A: Yes! You can use a gluten-free flour blend to make this cake gluten-free. Just ensure all other ingredients are also gluten-free.
Q5: How can I make the cake more colorful?
A: For a deeper pink color, add more red food coloring gradually until you reach your desired shade.
Mother’s Day Pink Velvet Cake: A Delightful Celebration of Flavor
Ingredients
- For the Cake:
- 2 ½ cups all-purpose flour: For a lighter texture, consider using cake flour.
- 1 ½ cups granulated sugar: You can substitute with coconut sugar for a healthier option.
- 1 cup unsalted butter (softened): Margarine can be used as a dairy-free alternative.
- 1 cup buttermilk: Greek yogurt mixed with milk works well as a substitute.
- 3 large eggs: For a vegan alternative, use flaxseed meal mixed with water.
- 2 tablespoons cocoa powder: This adds a subtle depth of flavor.
- 1 teaspoon baking soda: Ensure it's fresh for the best rise.
- 1 teaspoon baking powder: For that extra fluffiness.
- 1 teaspoon vanilla extract: Always opt for pure vanilla for the best flavor.
- Red food coloring: Adjust the amount to achieve your desired pink hue.
- For the Cream Cheese Frosting:
- 8 oz cream cheese (softened): Use a vegan cream cheese for a dairy-free option.
- ½ cup unsalted butter (softened): Can be replaced with vegan butter.
- 4 cups powdered sugar: For a healthier alternative, use a sugar substitute.
- 1 teaspoon vanilla extract: Enhances the overall flavor.
- Optional Garnishes:
- Fresh berries (strawberries or raspberries)
- Edible flowers for decoration
- Sprinkles for a festive touch
Instructions
Step 1: Preheat the Oven
Preheat your oven to 350°F (175°C). This ensures that your cake bakes evenly and rises perfectly.
Step 2: Prepare the Cake Pans
Grease and flour two 9-inch round cake pans. You can also line the bottoms with parchment paper for easier removal.
Step 3: Mix Dry Ingredients
In a medium bowl, whisk together the flour, cocoa powder, baking soda, and baking powder. This step ensures even distribution of the leavening agents.
Step 4: Cream Butter and Sugar
In a large mixing bowl, beat the butter and sugar together until light and fluffy, about 3-5 minutes. This process incorporates air, making your cake lighter.
Step 5: Add Eggs and Vanilla
Add the eggs, one at a time, mixing well after each addition. Then, stir in the vanilla extract. This adds flavor and richness to the batter.
Step 6: Alternate Dry and Wet Ingredients
Gradually add the dry mixture to the butter mixture, alternating with the buttermilk. Start and end with the dry ingredients. Mix until just combined to avoid overmixing.
Step 7: Add Food Coloring
Add the red food coloring gradually until you achieve your desired pink color. Mix gently to ensure the color is evenly distributed.
Step 8: Bake the Cake
Pour the batter evenly into the prepared pans and bake for 30-35 minutes, or until a toothpick inserted in the center comes out clean.
Step 9: Cool the Cakes
Allow the cakes to cool in the pans for about 10 minutes, then transfer them to a wire rack to cool completely.
Step 10: Prepare the Frosting
In a mixing bowl, beat together the cream cheese and butter until smooth. Gradually add the powdered sugar and vanilla extract, mixing until fluffy.
Step 11: Assemble the Cake
Once the cakes are completely cool, place one layer on a serving plate. Spread a generous amount of frosting on top, then place the second layer on top and frost the top and sides of the cake.
Step 12: Decorate
Finish by garnishing with fresh berries, edible flowers, or sprinkles to add a festive touch.